 Looking good !!!
Very pleased with the results. Much more useful than AC for us.
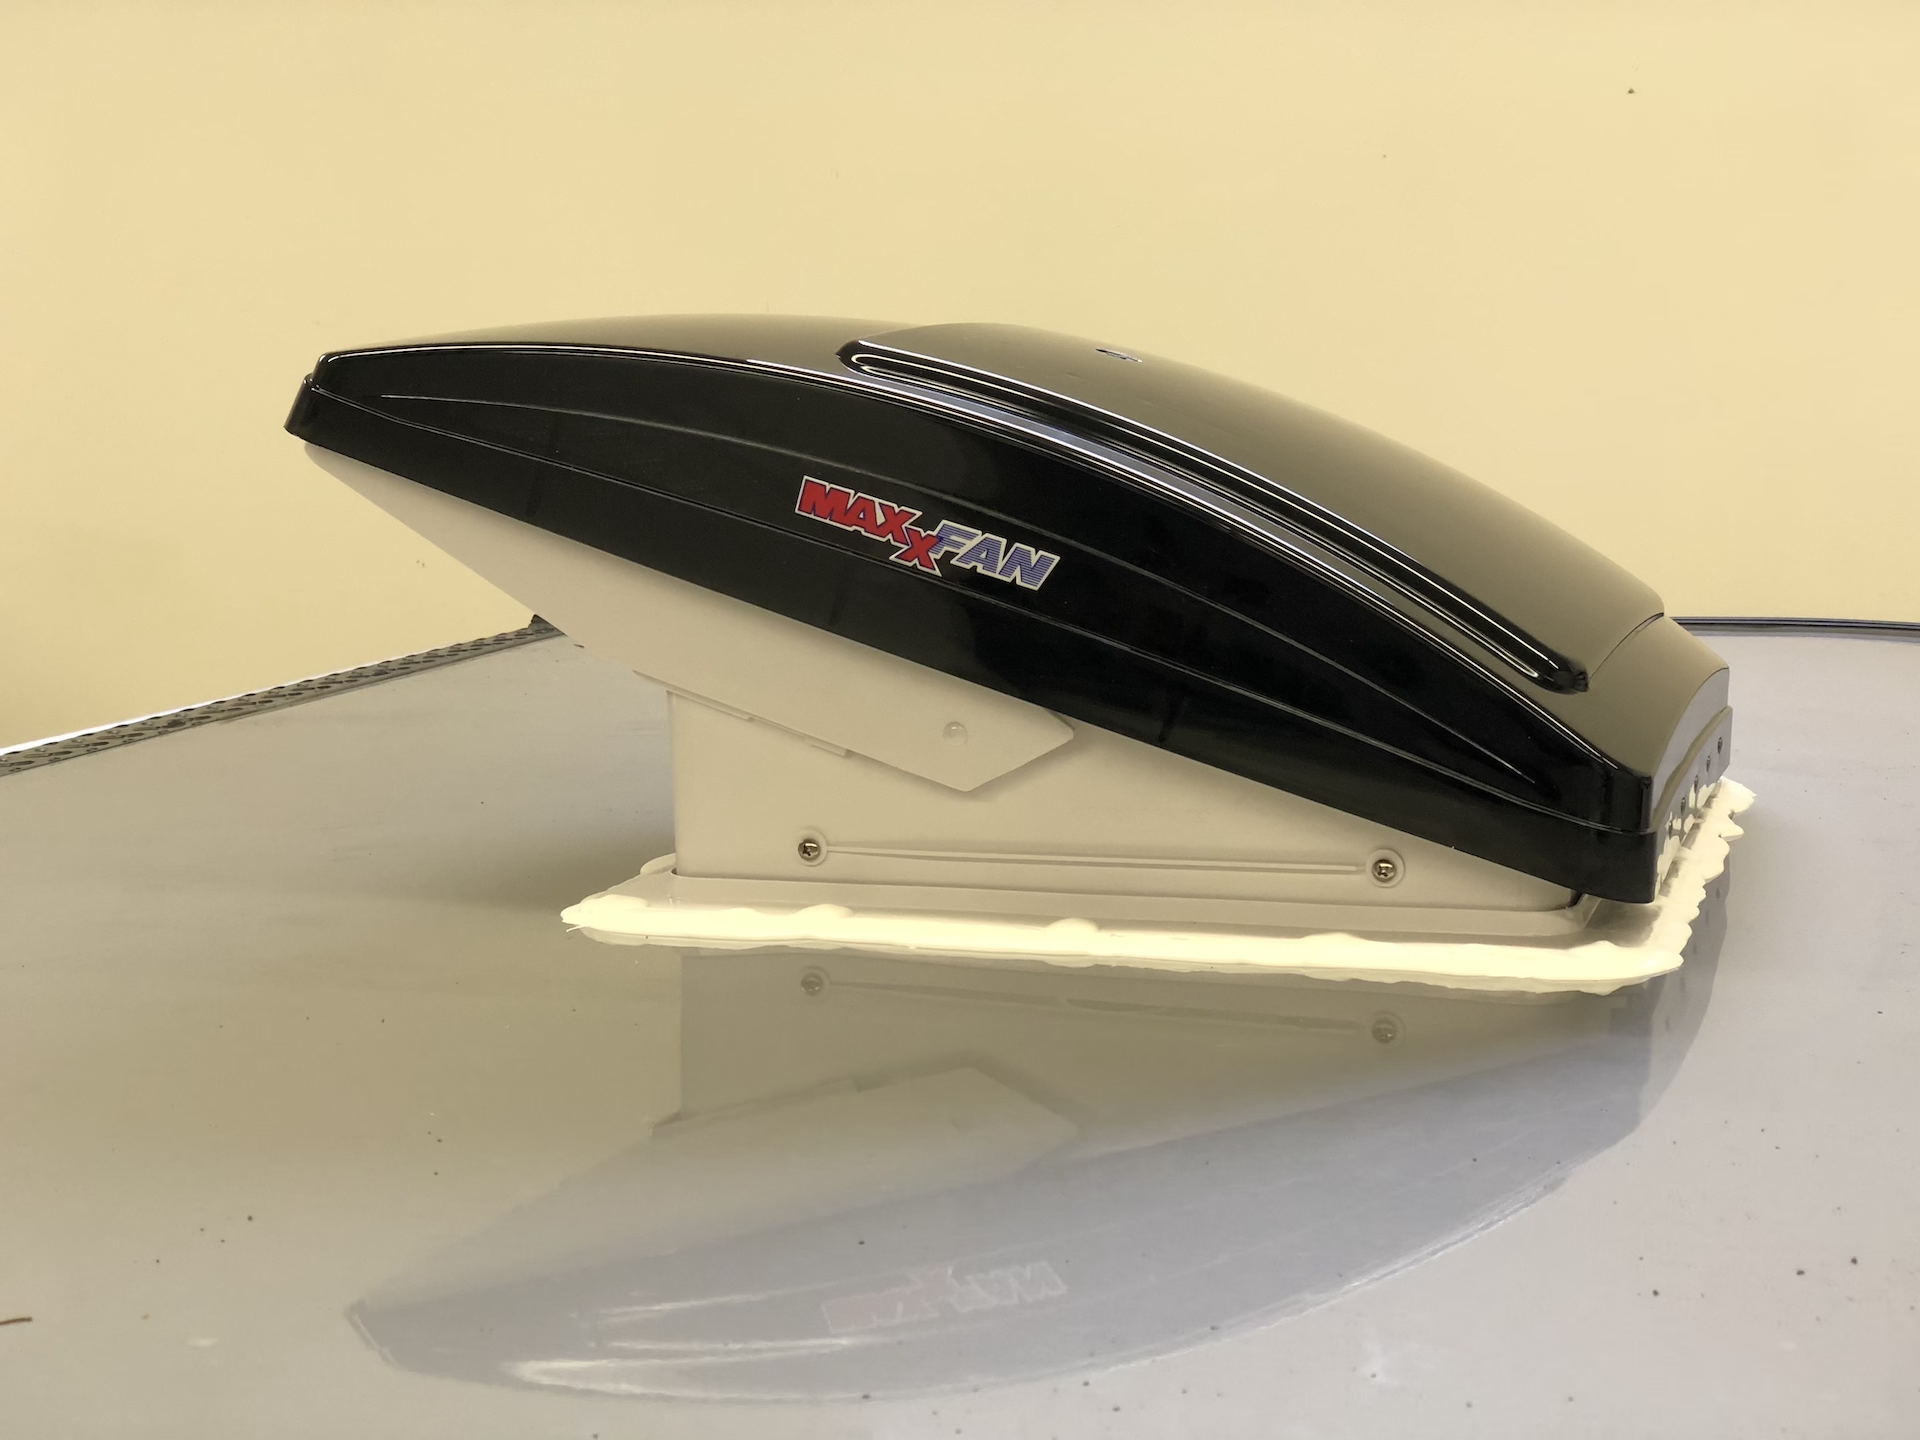
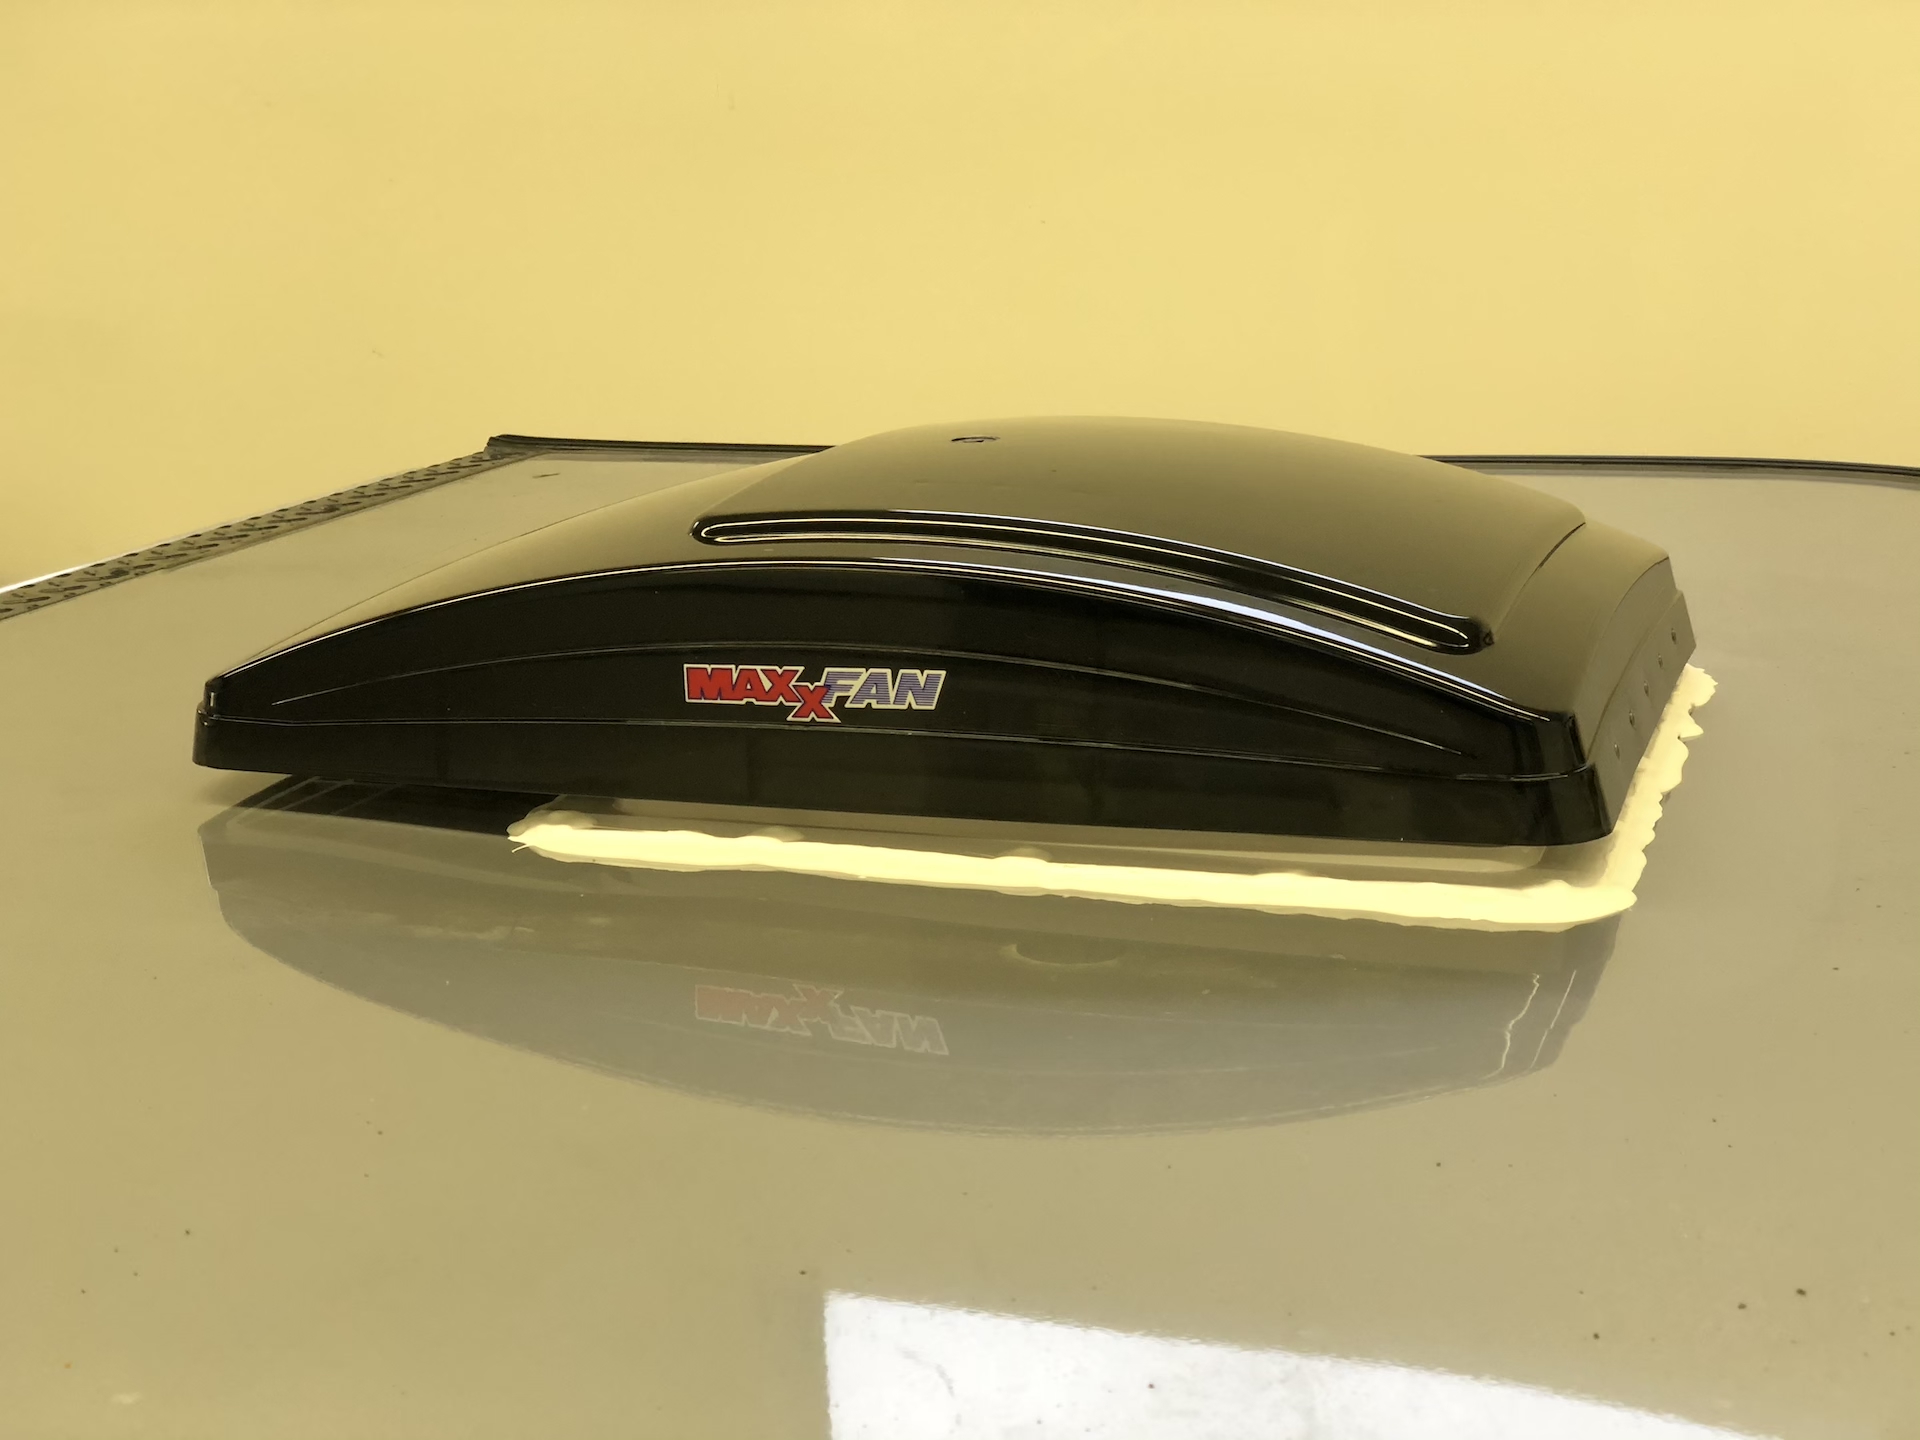
The fan I used is a 10 speed MAXXFAN #7500K. That model has the built-in rain shroud.
It was nice that the original AC install did not need sealing tape. Once the AC was removed the top of the roof was clean. No residue that required scraping.
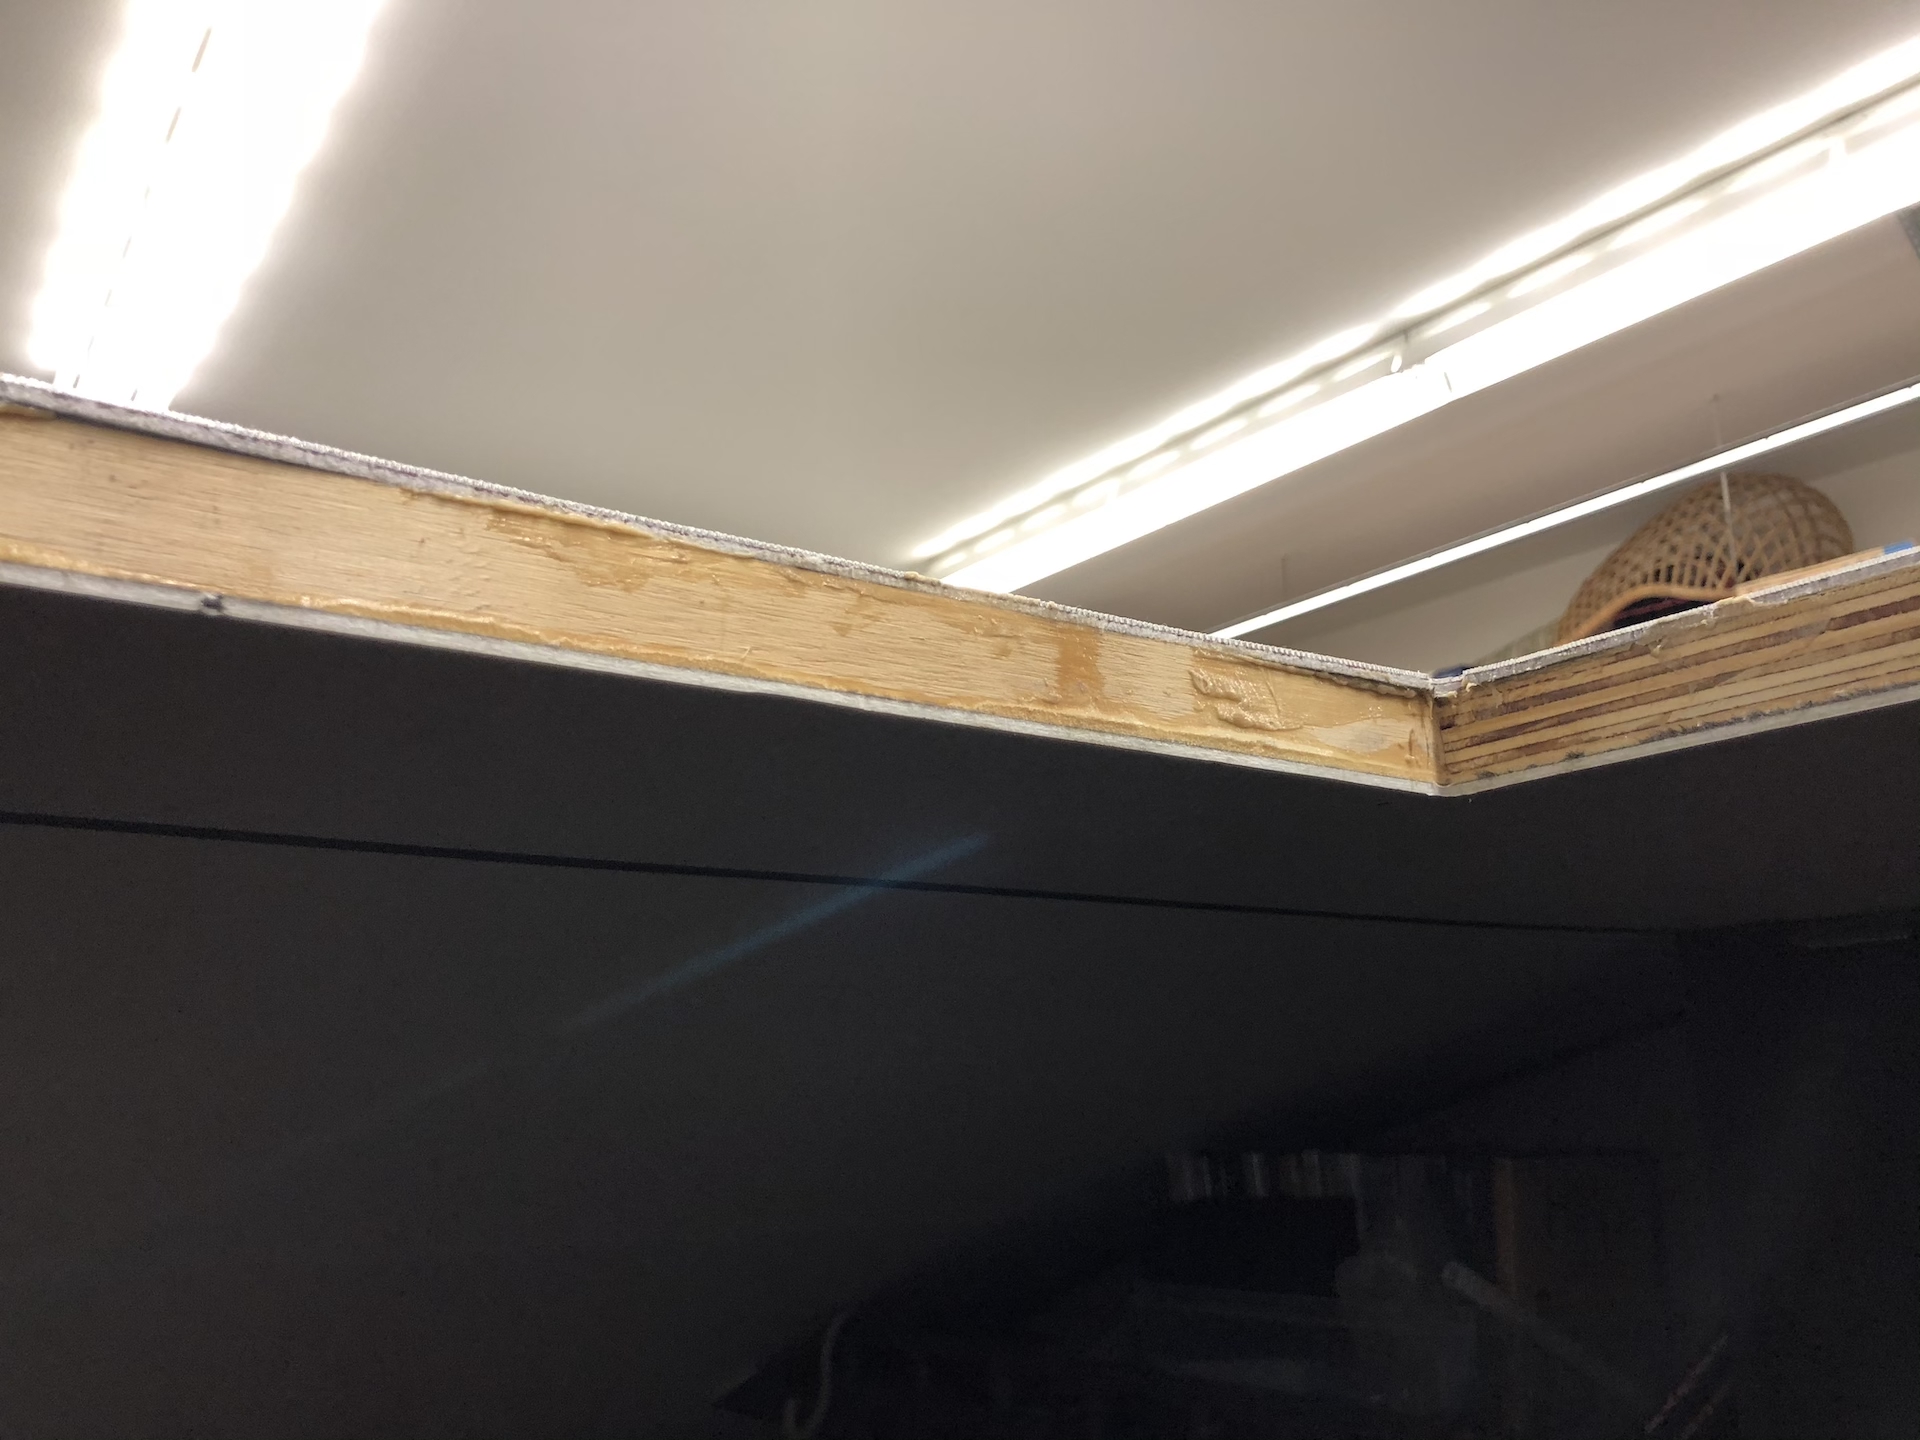
To close gap between frame and aluminum roof I applied exterior grade construction cement and left it clamped for a couple of days.
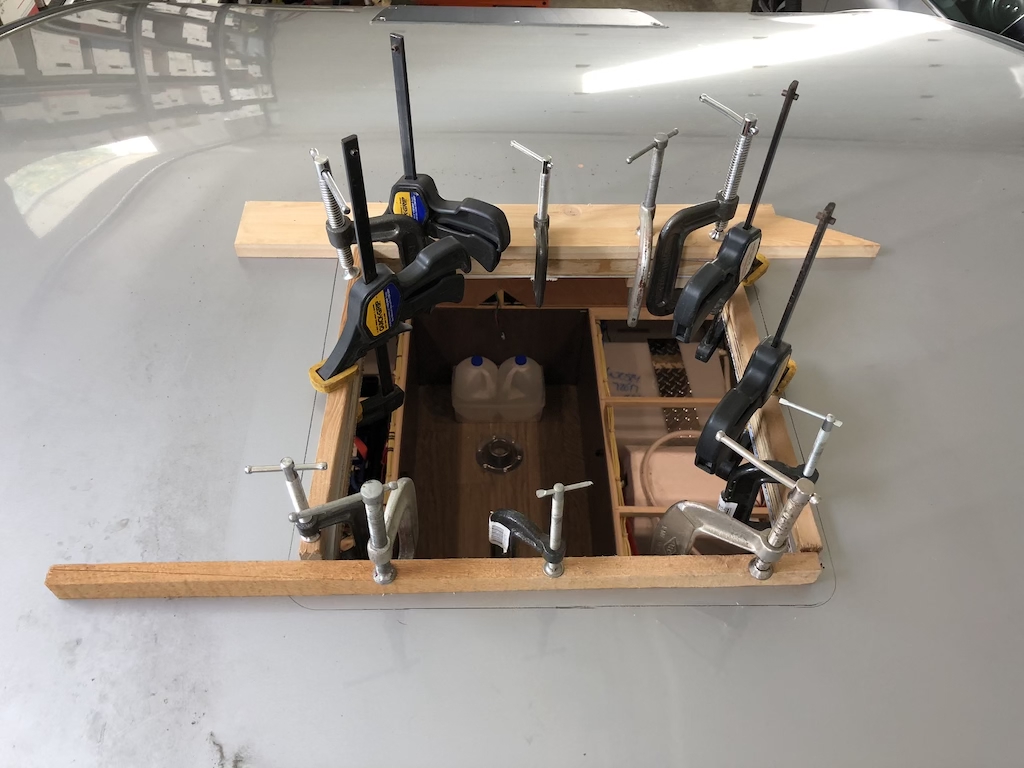
The usual overdoing with reference to the number of clamps used, but I didn’t want any bubbles,
To make sure that the clamps didn’t leave any marks on the inside ceiling I applied painters tape around the opening and also used wood, top and bottom.
Ceiling stayed clean and without marks.
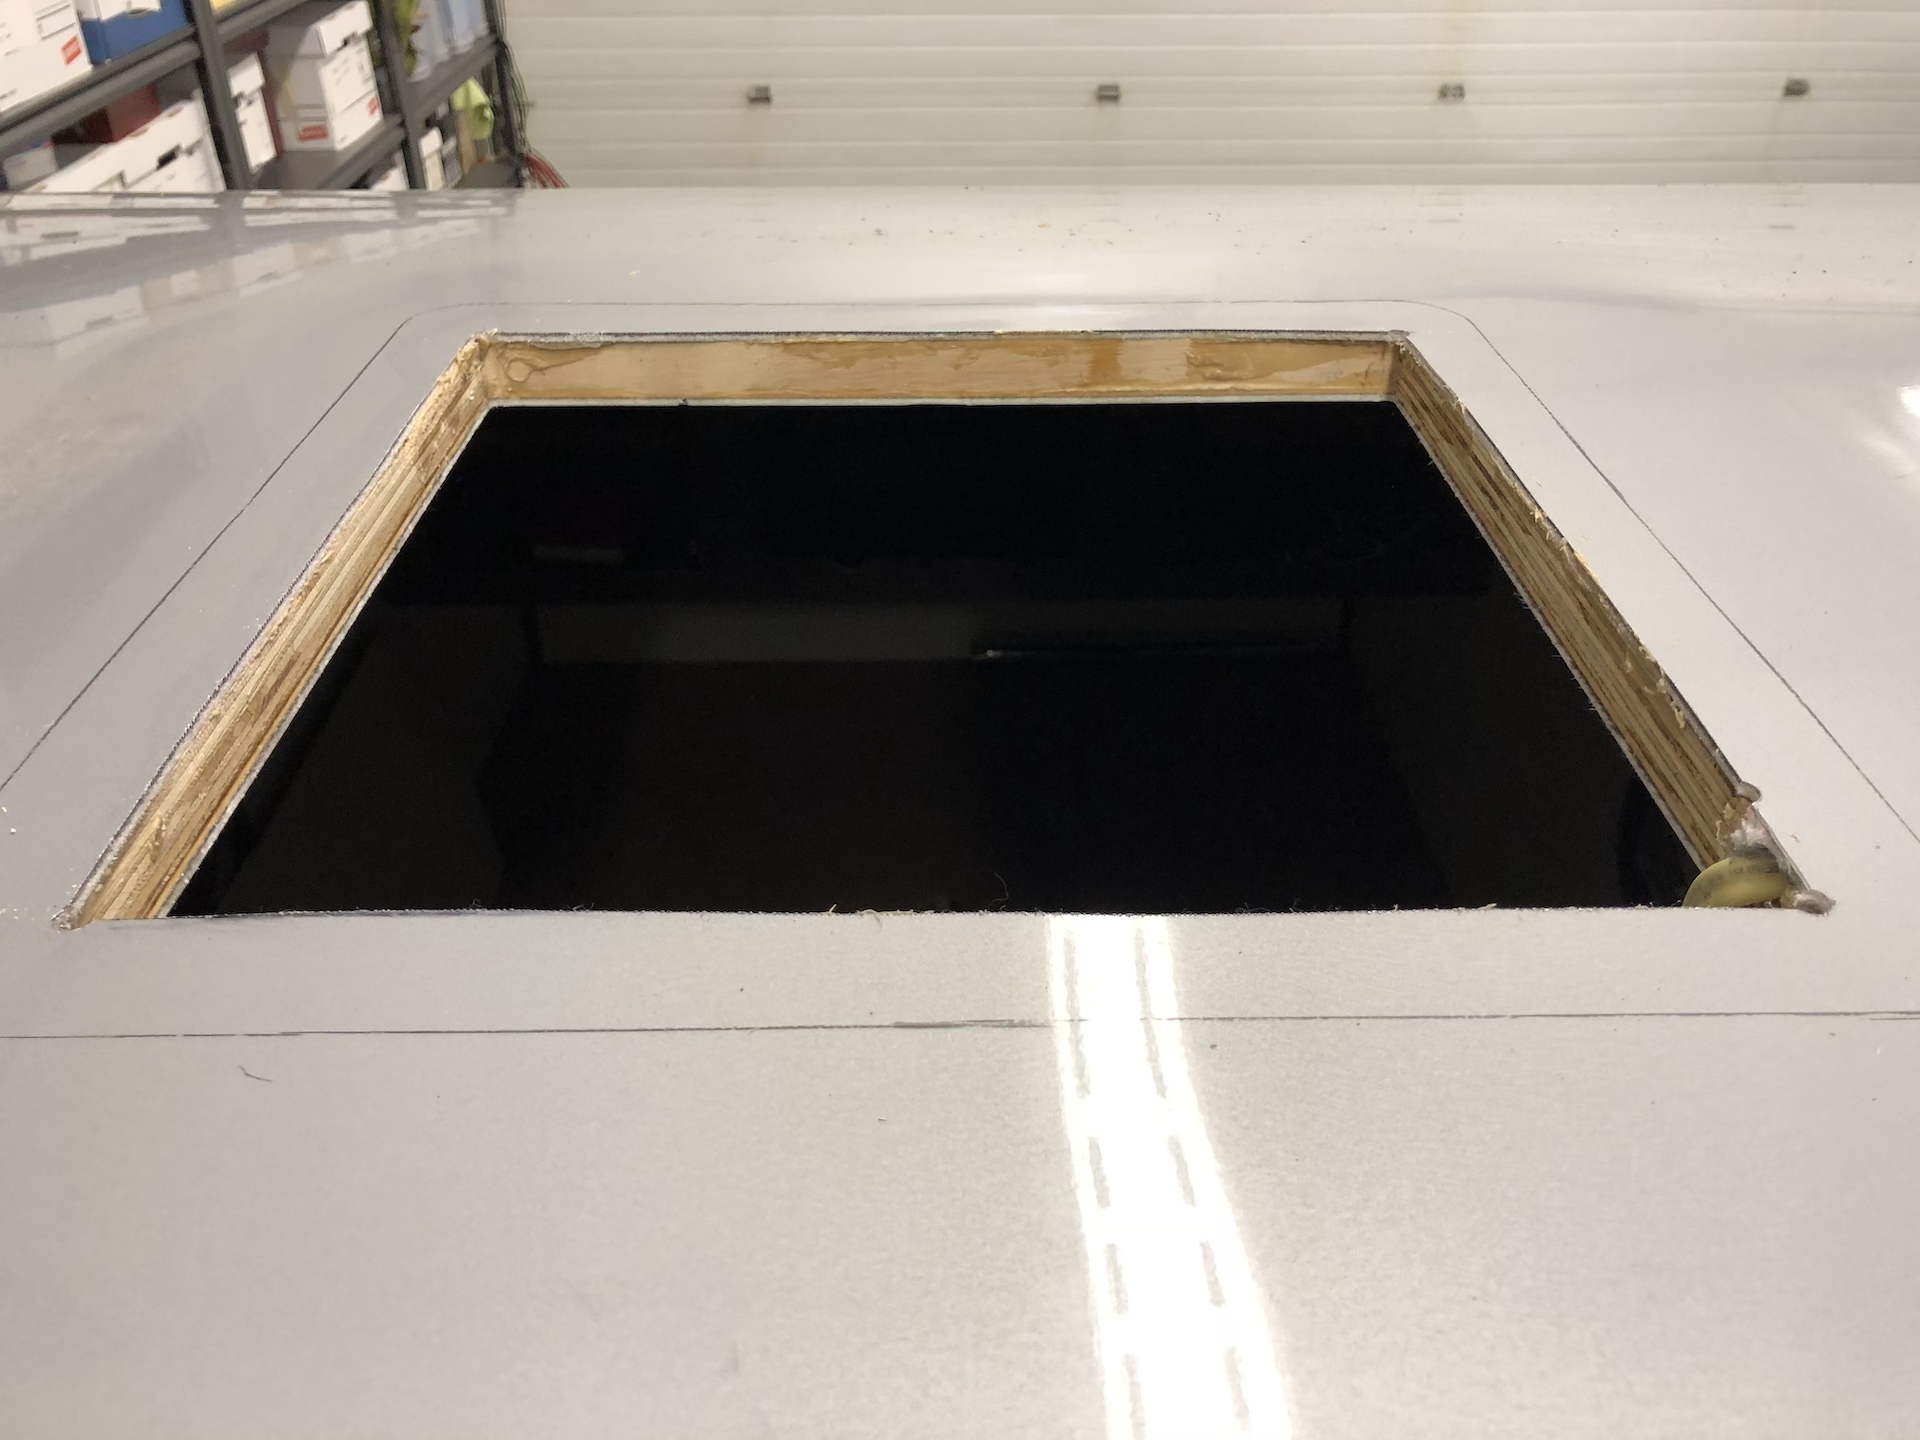
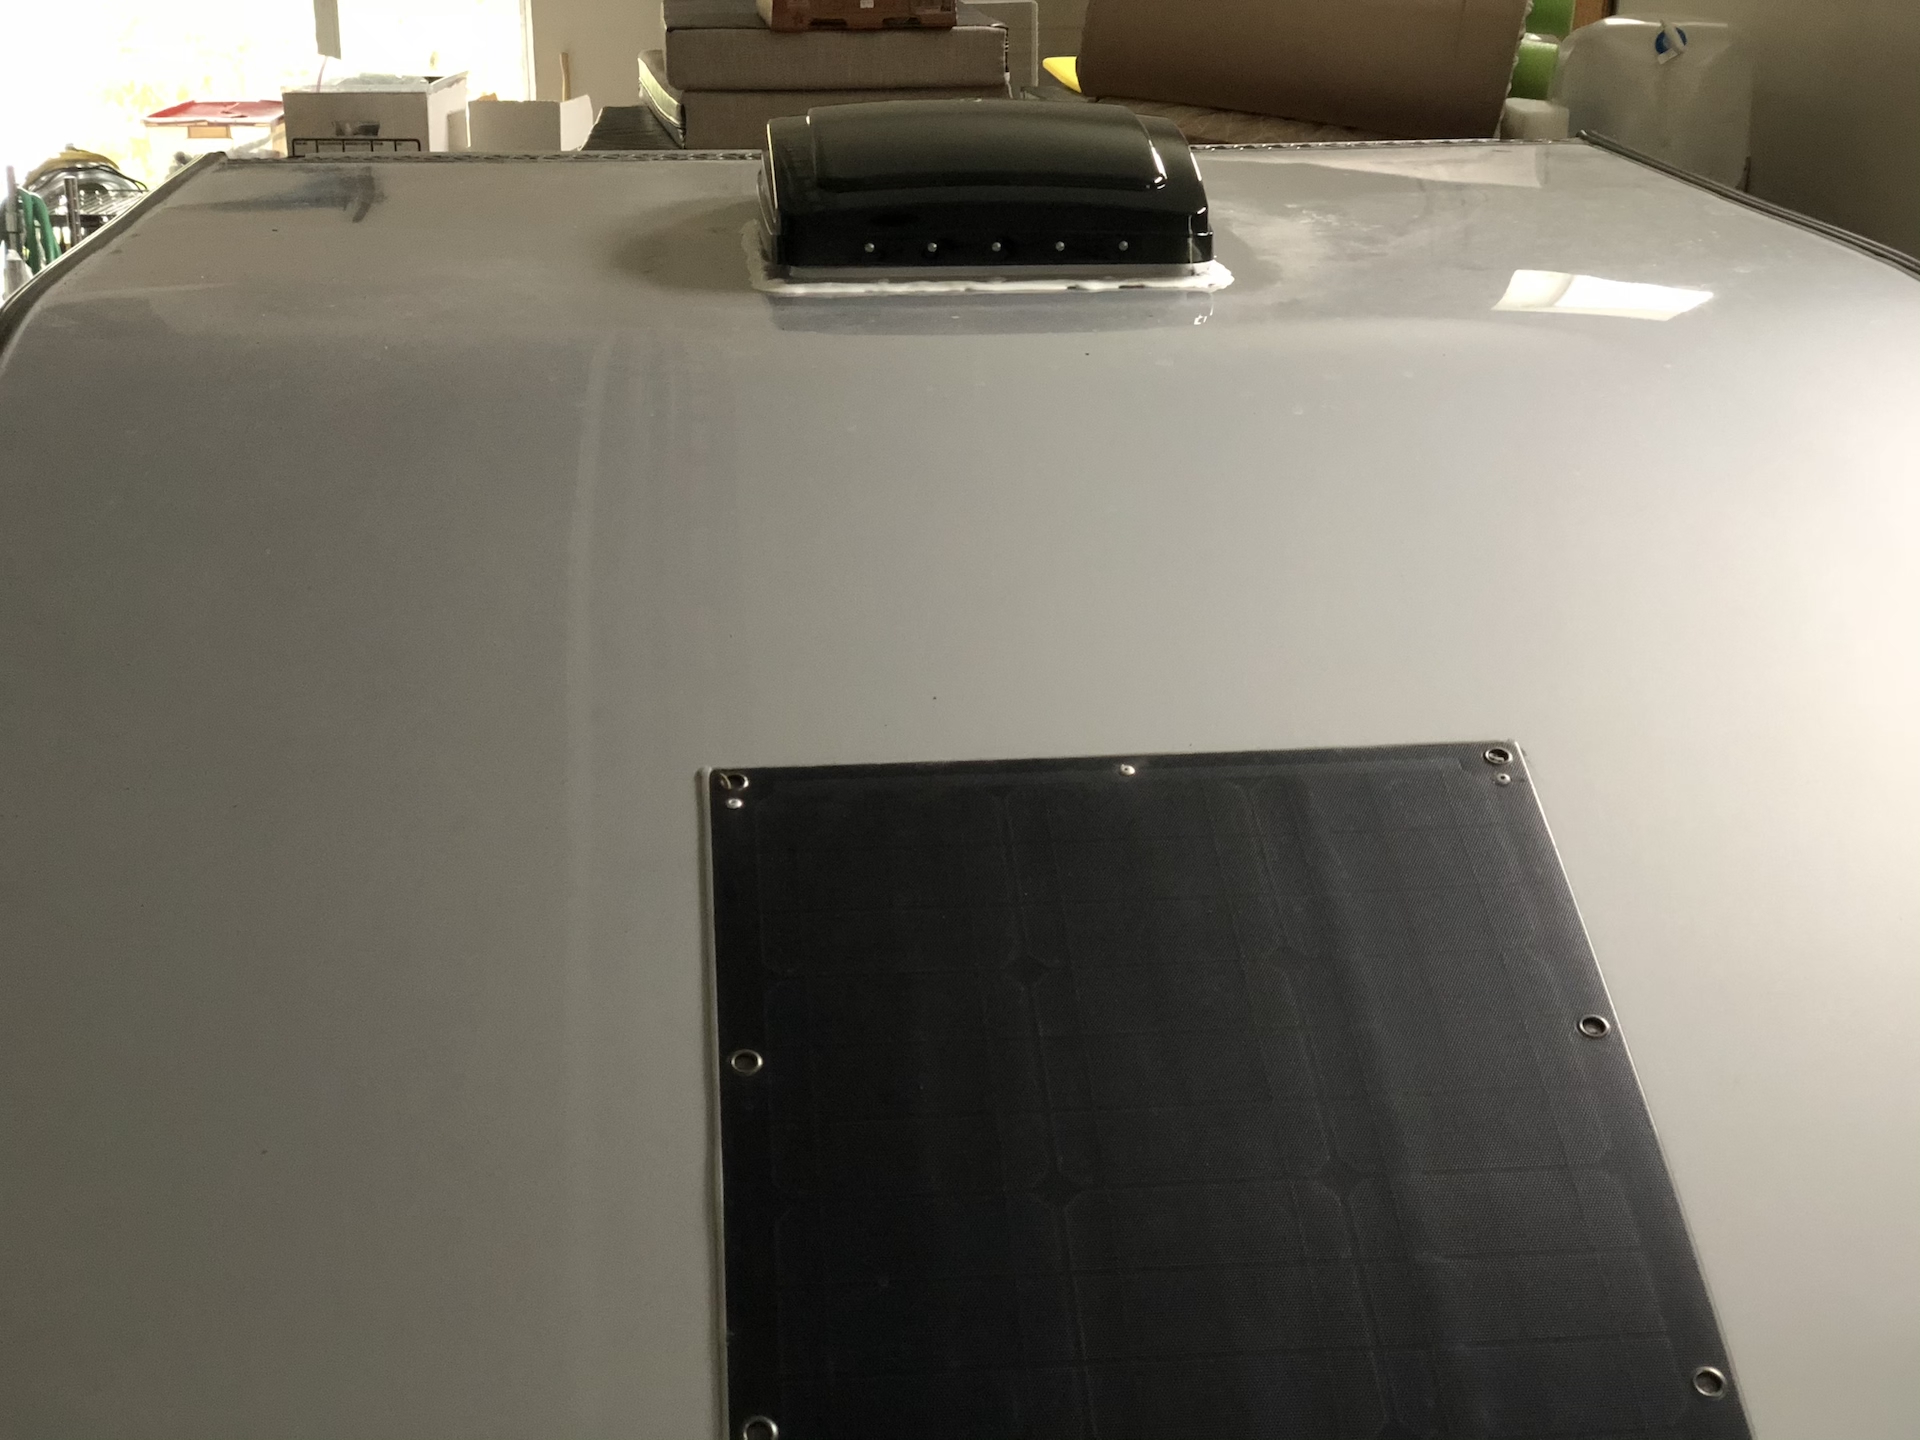
The resulting opening:
Instruction from MaxxFan were straight forward. All hardware was supplied. Only thing(s) I had to buy extra was the sealing tape and the smoothing sealant.
One variation, compared to a regular install, was the use of the existing 110 Volt wiring. I looked into fishing a wire from the rear ceiling light but that was a now go due to the cross-members being tight to ceiling and roof.
I chopped the 110 in about the middle. The half with 110 power will terminate at an additional outlet below the bench. The non-powered end was connected to 12 Volts and viola… the MaxxFan had power.
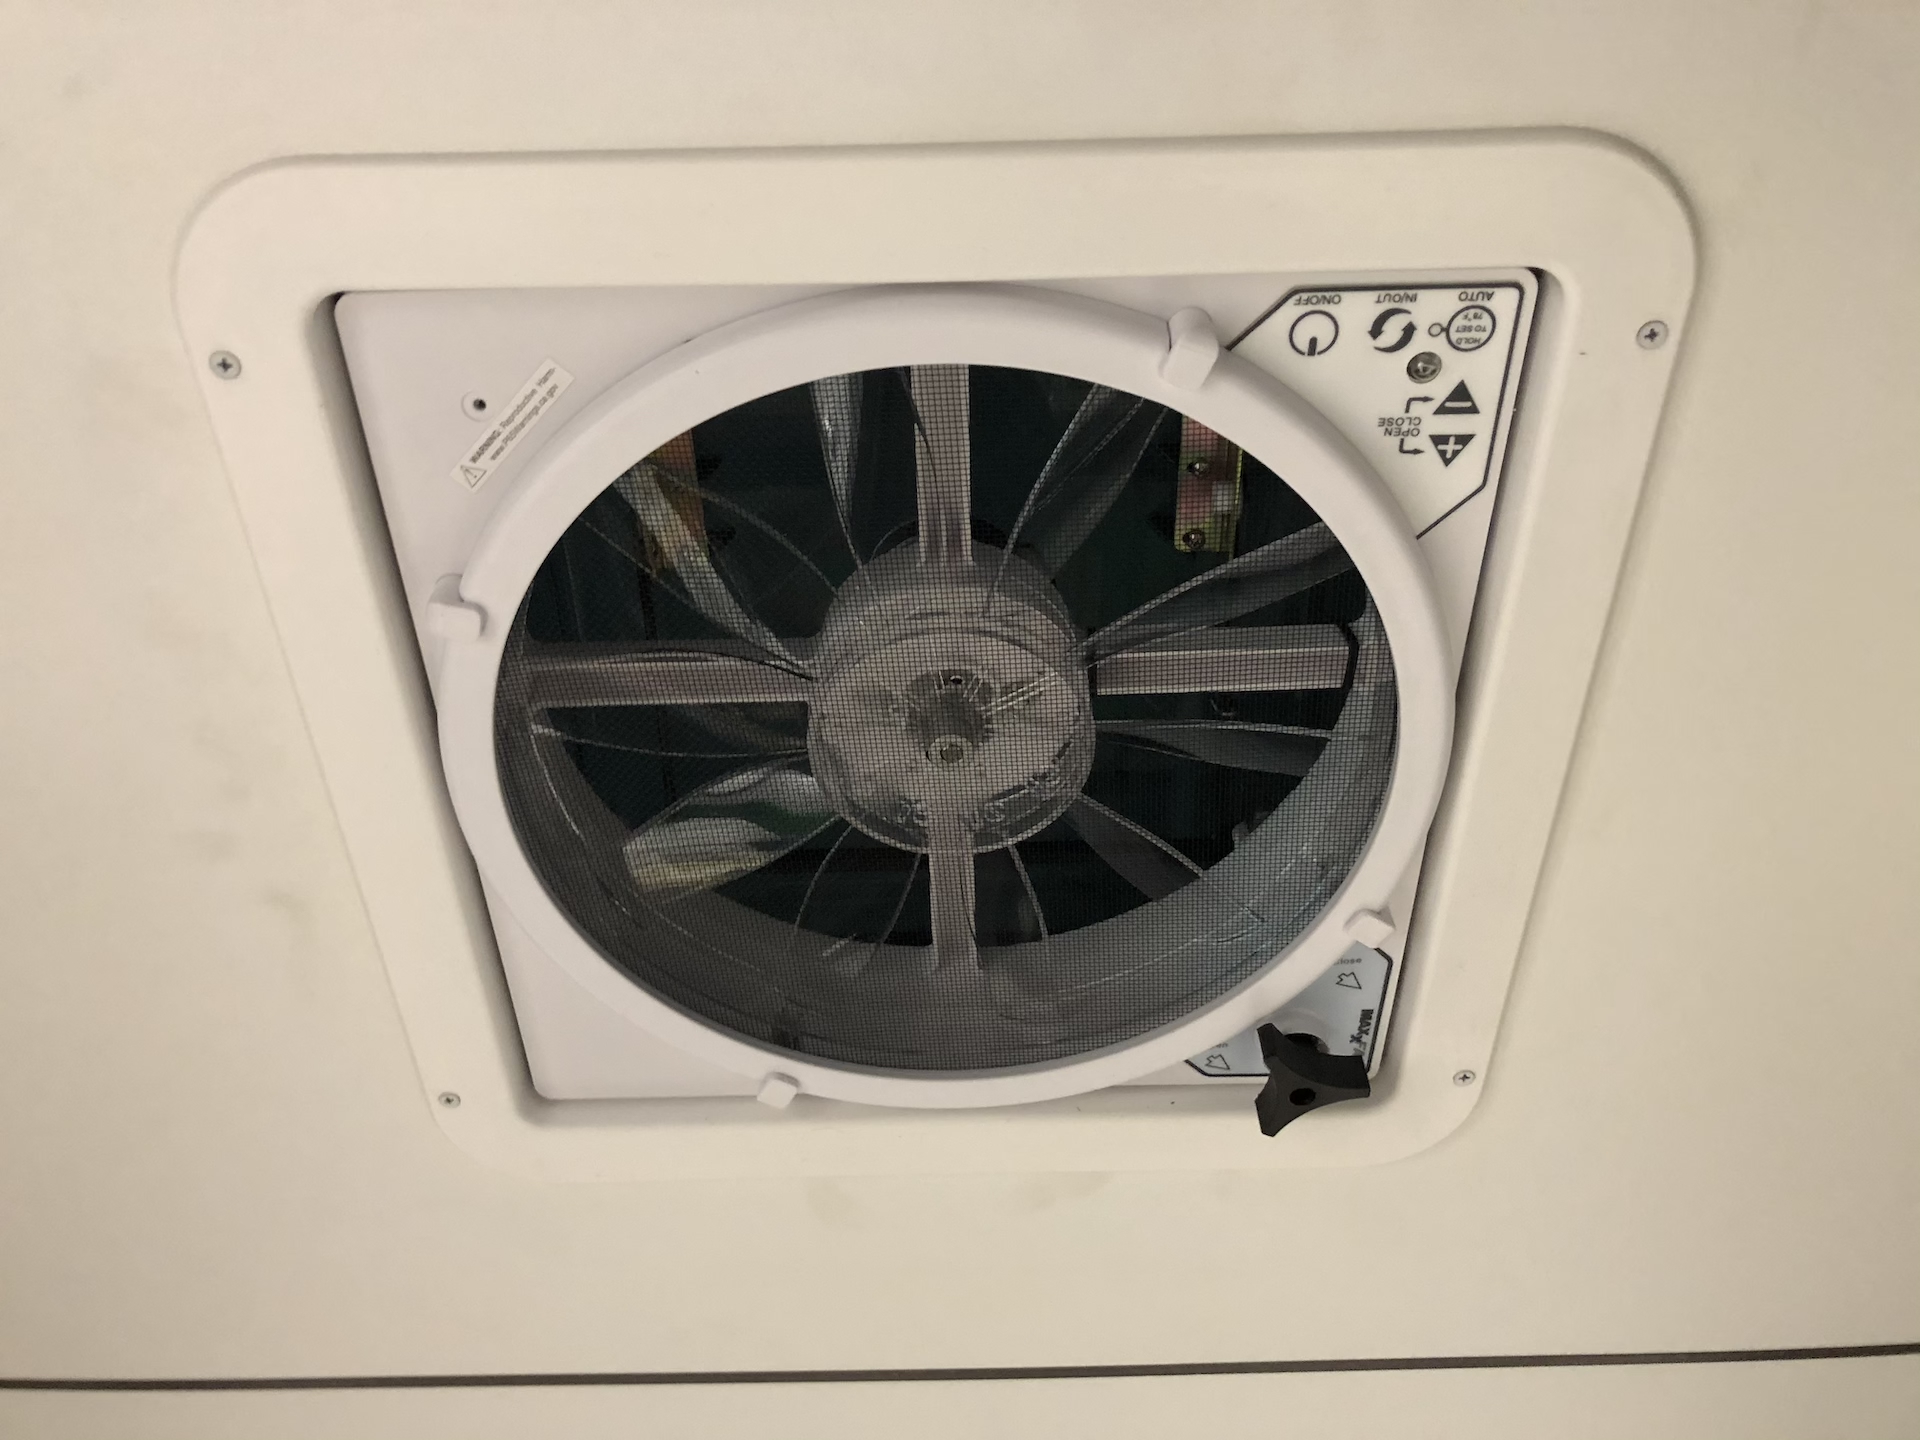
Controls are easy to see and use. There is also a remote control.
1 Comment
Add a Comment