![]()
|
|
|
|
October '98 update: All done and a few thousand miles on the bags. Very pleased with the ride. Did have some difficulties with the 'easy' fittings supplied but overcame that by replacing a couple with regular compression fittings. No leakdown since. For posterity, and those that are interested, I'm leaving the page as it was during the installation. Definately an improvement in ride on concrete patches and concrete highways in general.
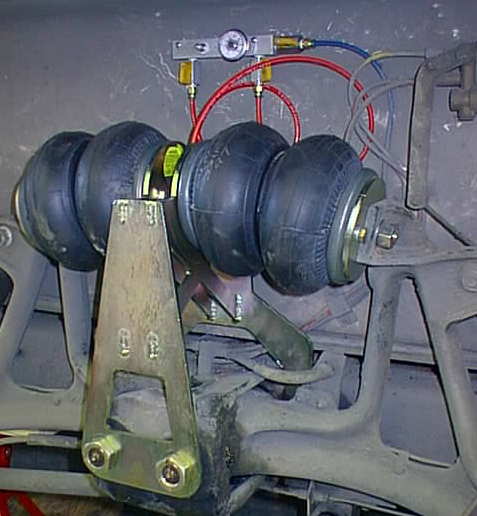
The first side is done... piece o' cake. The other side was even easier.
It turned out as easy as Leigh (and others) said it would be.
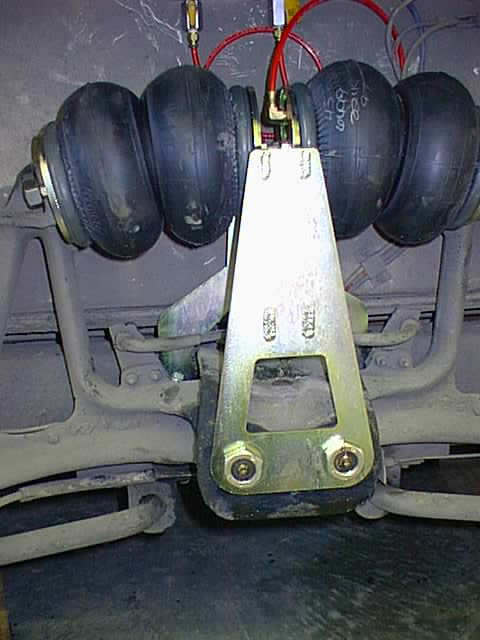
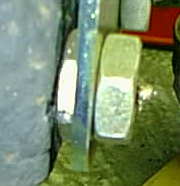
Getting the top nuts on the back plate proved a little challenging but overall it fit very well. Only slight jiggling with a big screwdriver was needed to get the bolts through the inside plate. The old outside nut and washer is removed and replaced with a machined nut/jam-nut combination.
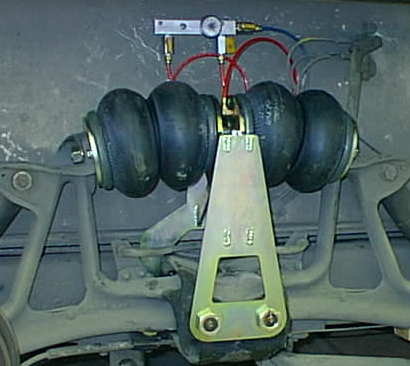
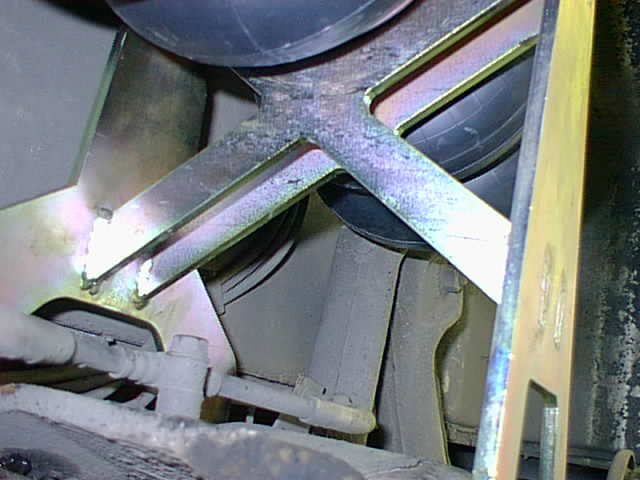
A closeup of the fine construction of the 4-bagger kit.
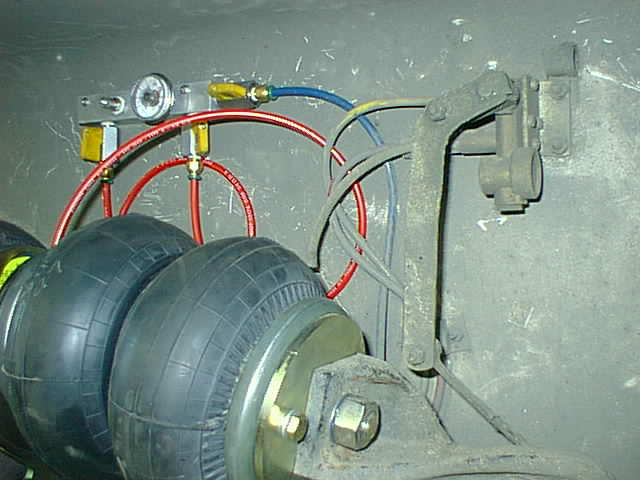
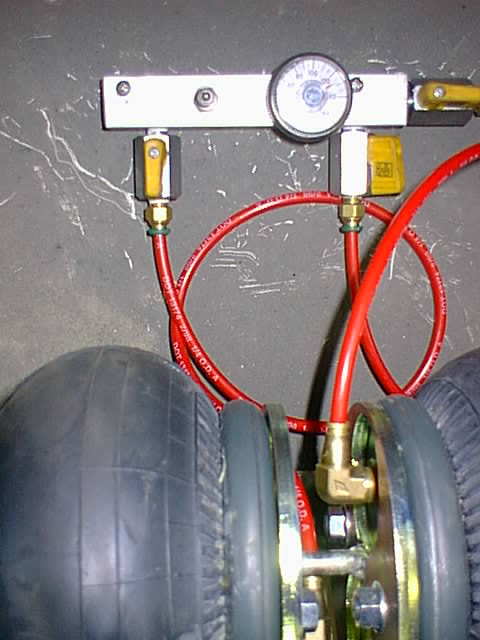
I opted for the optional manifold and associated gauge and valves. This allows travel on one airbag in case of a failure. It also has an air valve so that the bags can be filled manually in case of compressor failure. A note of caution: be sure to check all fittings on the bags for tightness before you install the hose into the elbows. As they seemed in place, i.e. positioned correctly and had thread compound on 'em I assumed they were tight. Well, true to form when you assume... they weren't and I was getting leakdown over several days. Anxious to add it to your own pride and joy? Questions? drop me an email. |