![]()
|
|
|
|
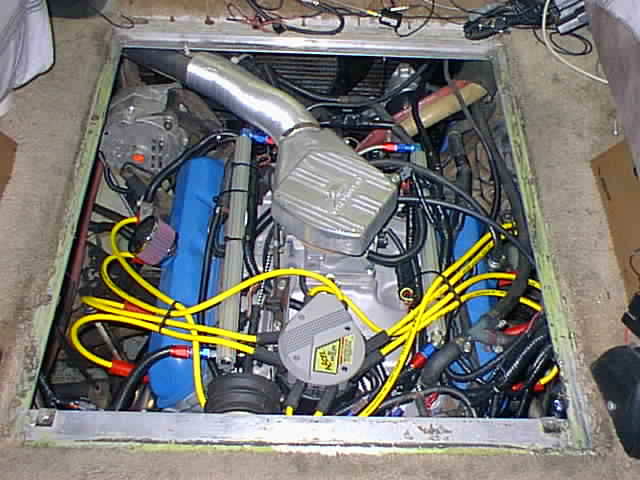
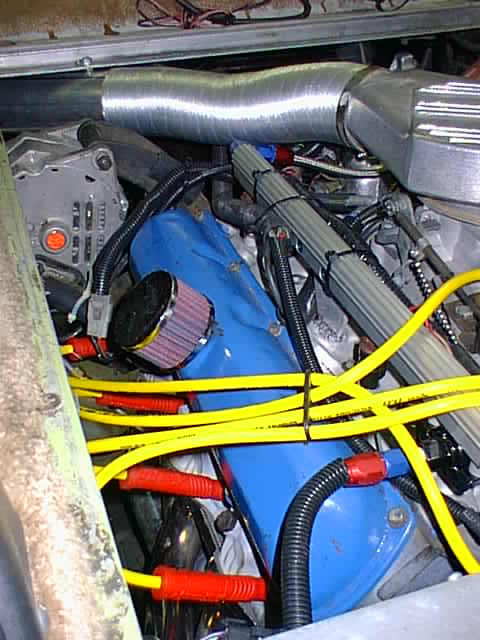
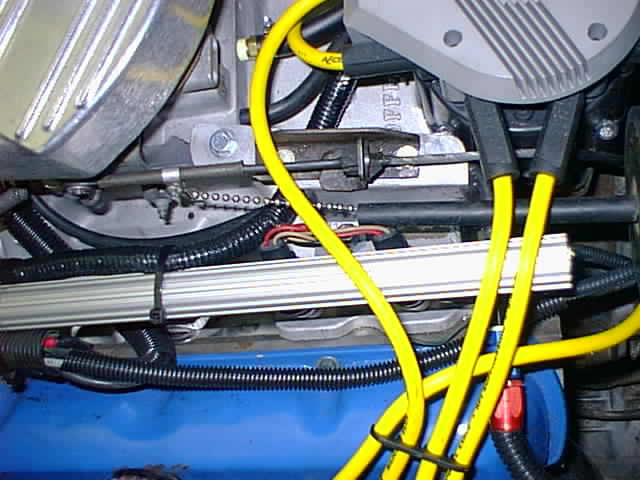
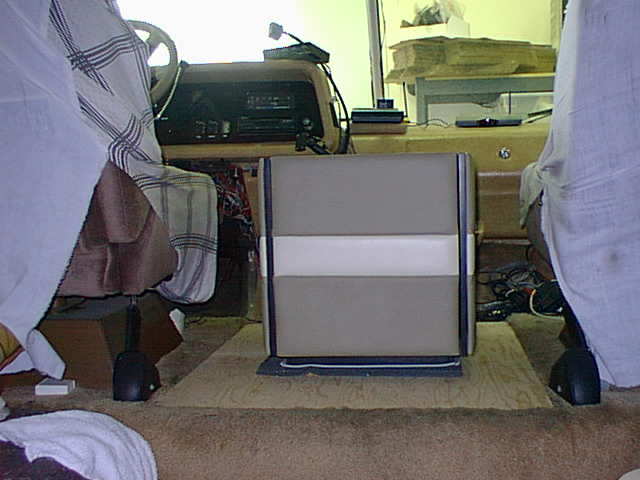
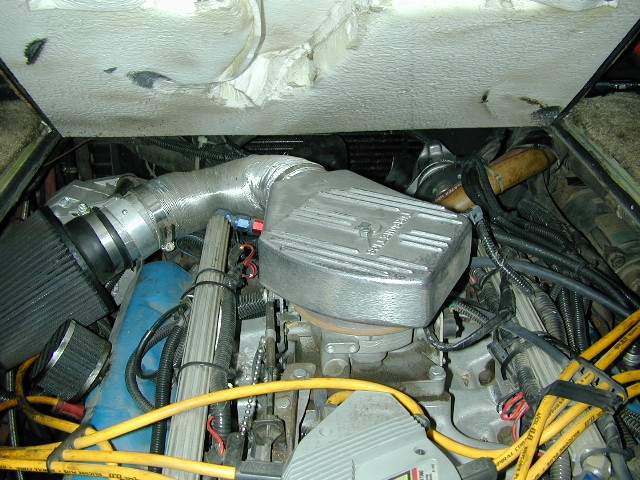
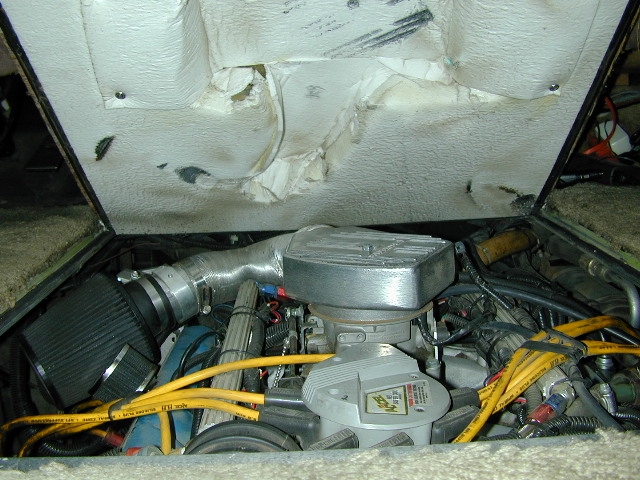
I purchased the Ported Fuel Injection kit from Rance Fuel Injection. On Rance Baxter's recommendation I also changed spark plug wiring and the HEI coil. The Rance EFI makes use of the Accel Digital Fuel Injection electronics and in my case we also went to an Offenhauser Intake Manifold. Unfortunately it required modifying the hatch cover but as I was using a cabinet on it anyways, and it had some deadspace in the bottom, the net difference was zero aside from the work required to cut the new hatch. Overall, the system went in quite easily. Rance supplied a video which made it easier than just written instructions. On occasions when we were confused Rance was very helpful on the telephone and straightened us out toot-sweet. Havn't been on a trip yet and still have some programming to do, but it's running quite well 'right out of the box'. View from the top. Air-intake has been rerouted to the front utilizing some 3" flexible pipe and a 3" solid piece that assures clearance over top of the serpentine belt near the alternator.
A closer look:
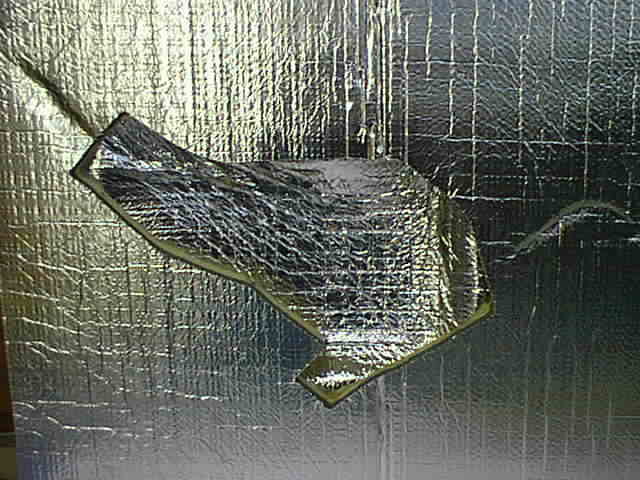
Made a new Hatch out of 3/4" plywood, cut an opening for the components needing the extra space and lined it all with foam/foil soundproofing material.
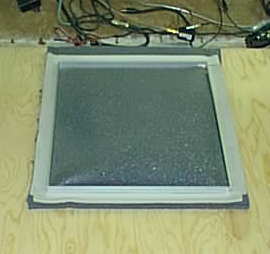
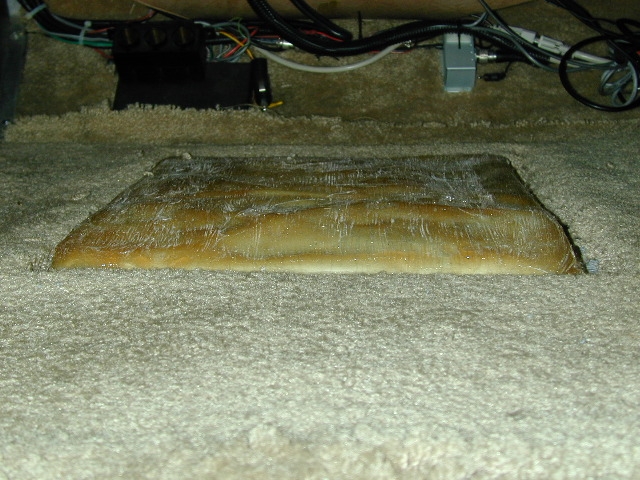
Top view of the new hatch cover.
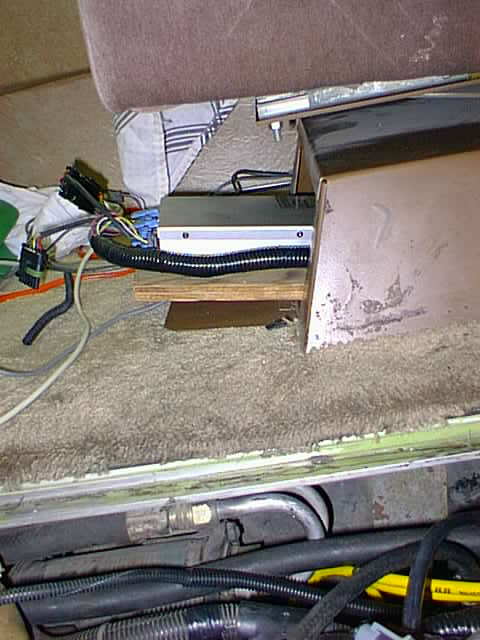
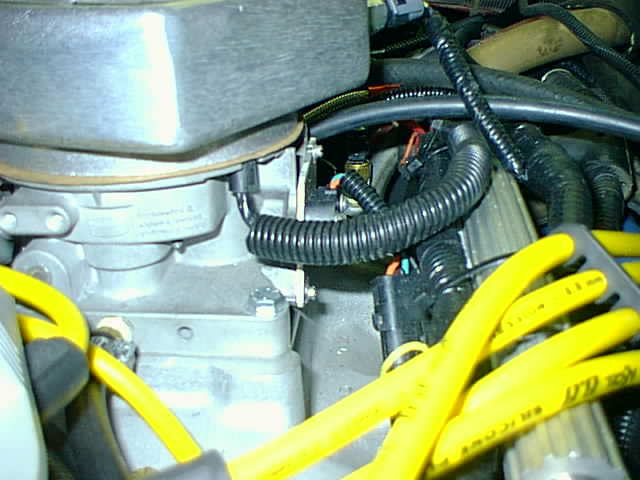
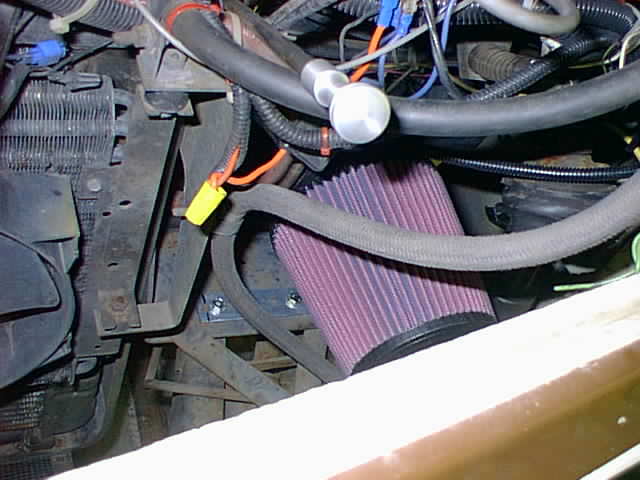
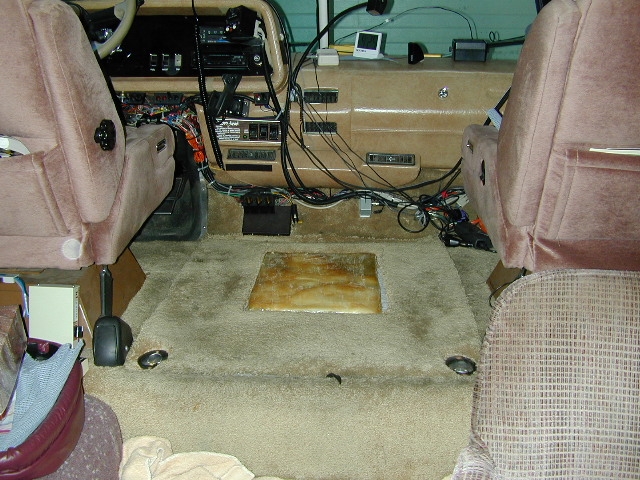
I have about 27,000 miles on system now and continue to be pleased with it. Have added a variable controller to the scheme so that individual fuel control can be obtained for each injector instead of by the default 2 banks where 4 injectors at a time get fuel. I've also reworked my air intake back under the hatch just behind the alternator. It makes the system a little quieter without adverse affects. I have also gone back to the original hatch. I modified it by cutting the area where the air bonnet and hose required the room. An insert was fabricated with fiberglass using the bottom of the TV cabinet as a mold.
The underside of the hatch is lined with ceramic paper.
This page was last updated
|