Update to 450XH in progress – June 6, 2019:
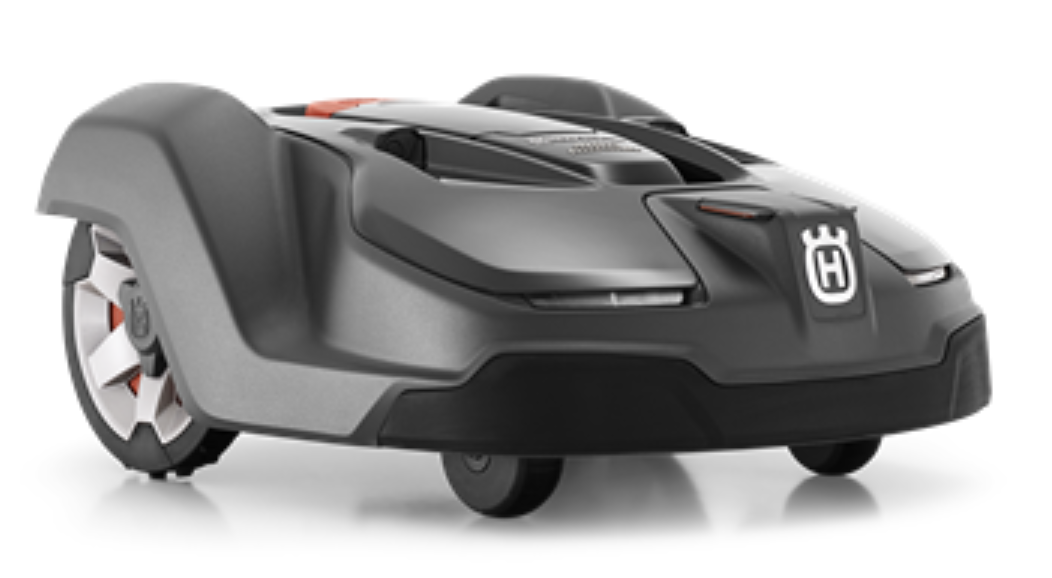
Installing a Husqvarna Robotic Mower, the AutoMower 450X. Had originally planned the 450XH but ultimately the standard X was recommended by Fraser Valley Equipment of Surrey, BC.
The husqvarna automower owners Facebook Group has been a great source of information, suggestions and recommendations. Sure helped a lot during planning and will probably mean less re-do’s. 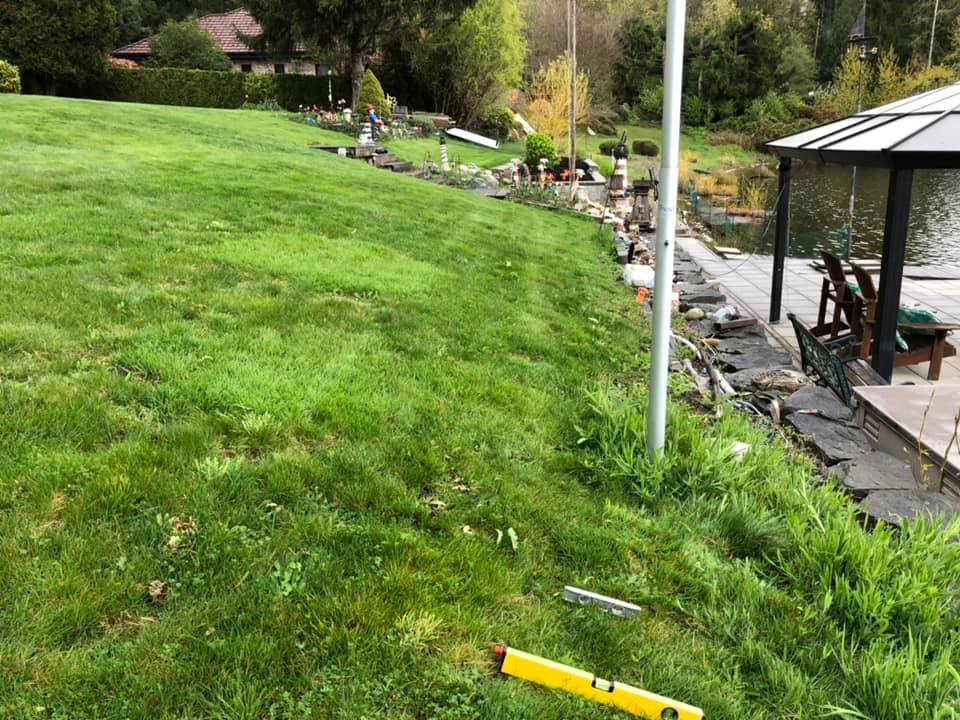
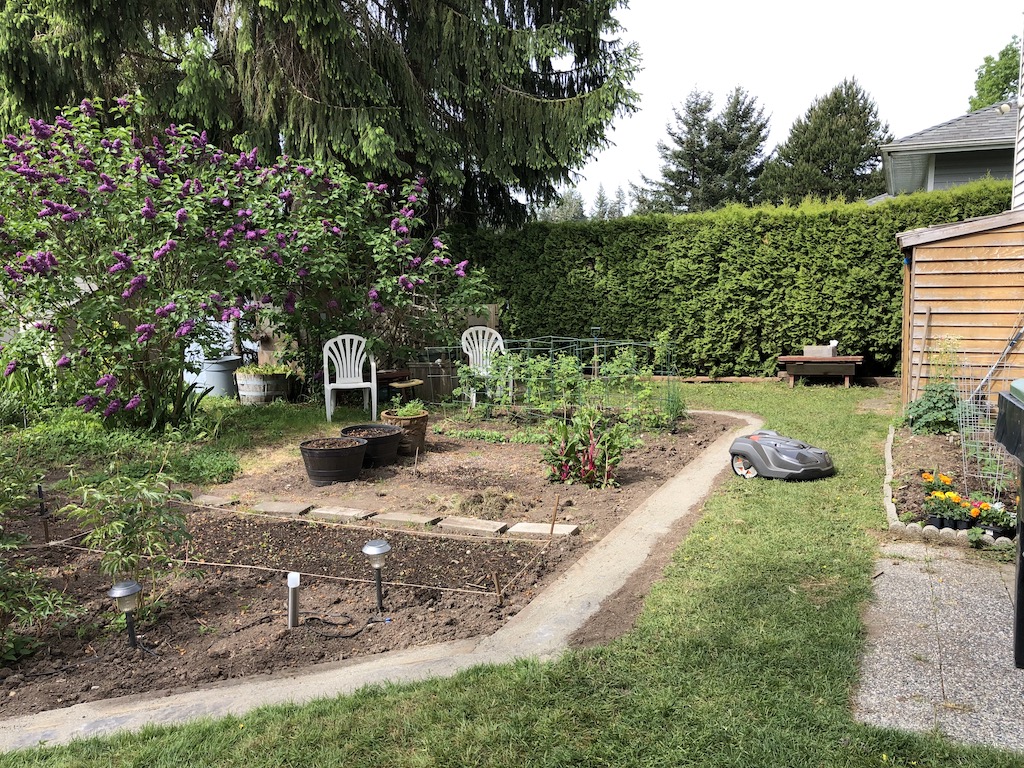
 Our lawn may prove to be a bit of a challenge due to slope, narrow passages around raised flower beds and a water hazard at bottom of slope.
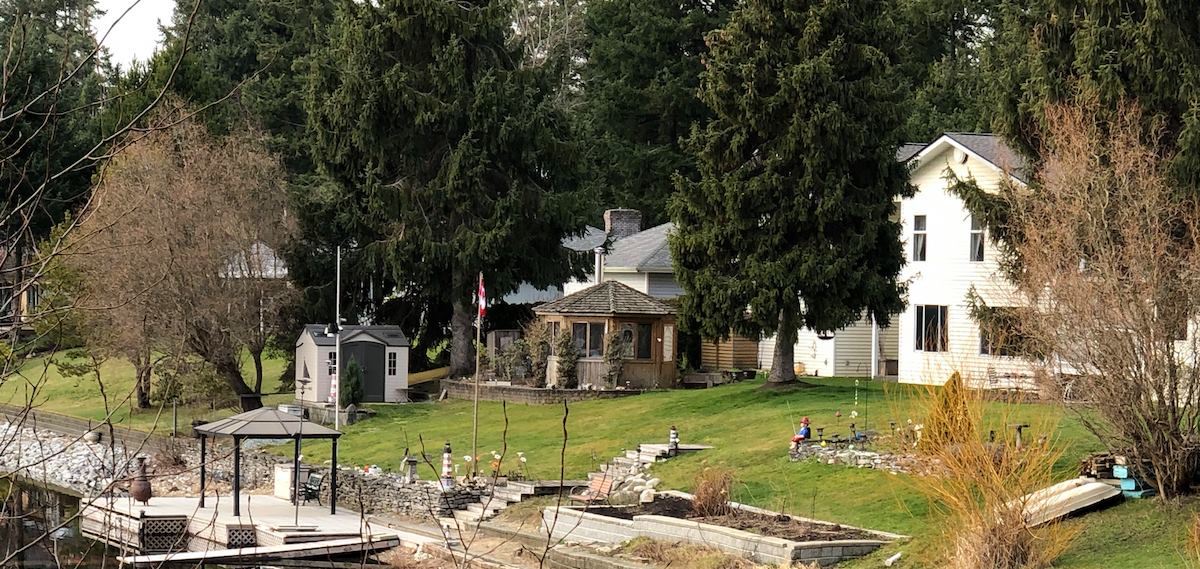
Lawn a bit greener than shown in this old Google shot. Hopefully the AutoMower will help to keep it that way, green that is.
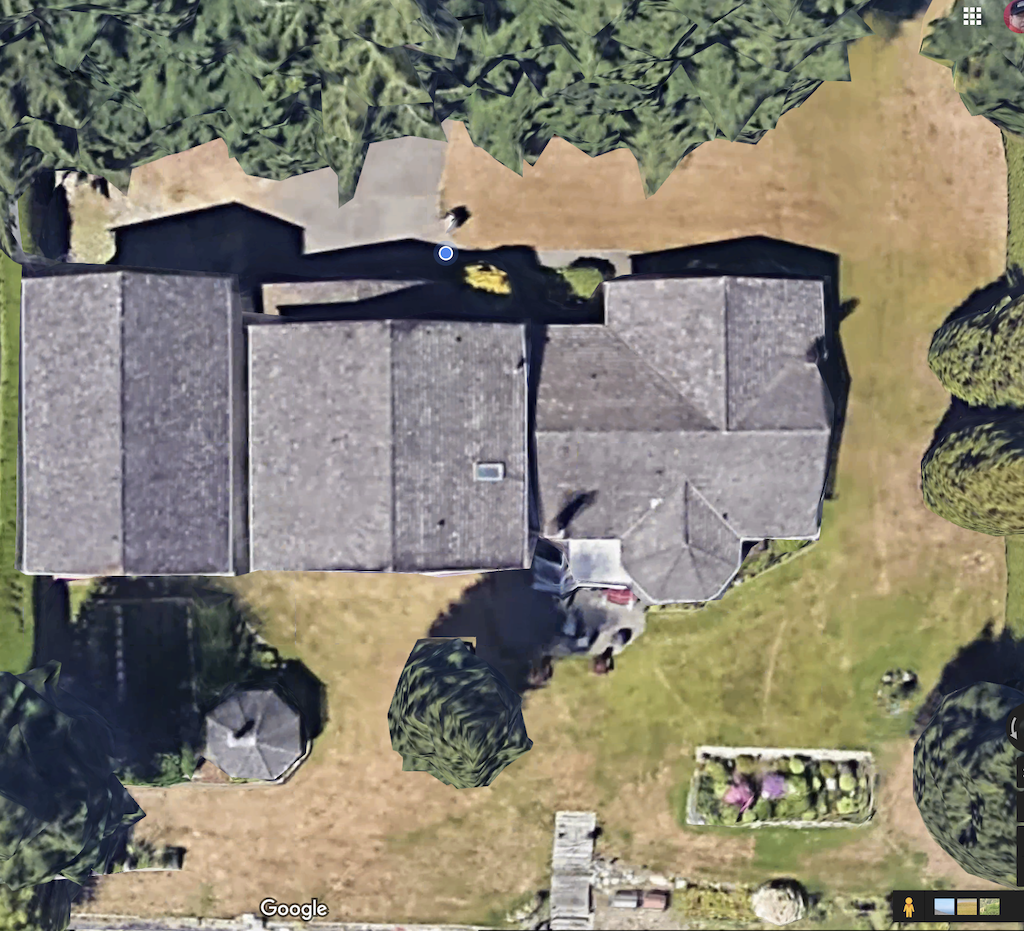
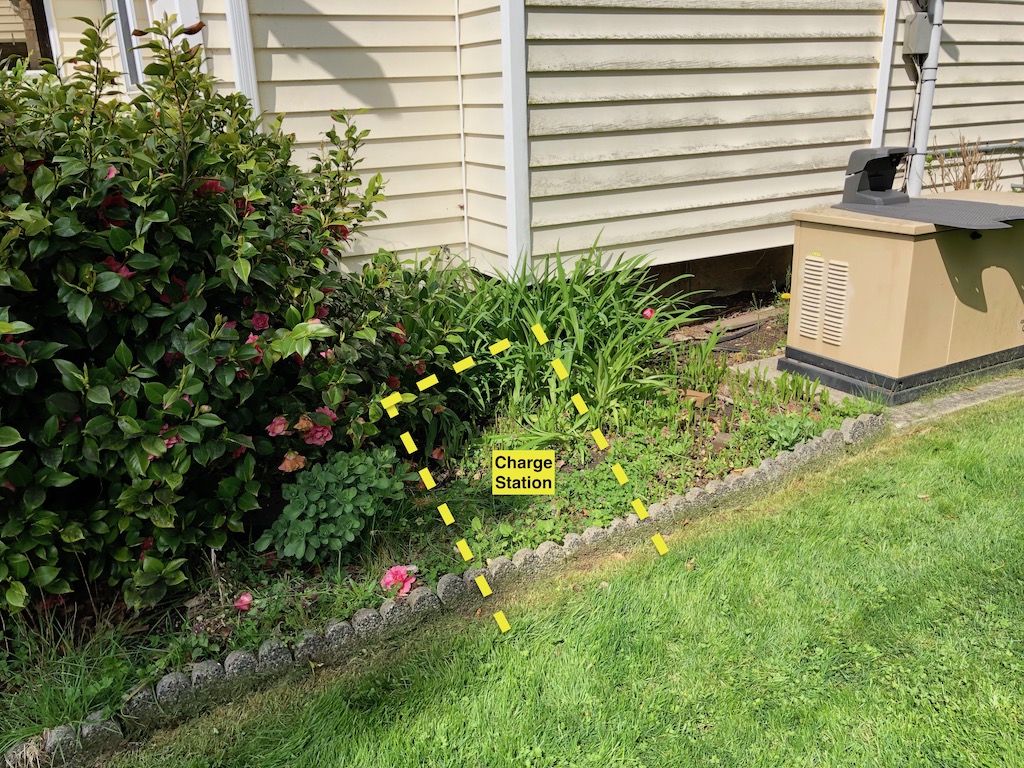 Have decided to locate home base, the Charging Station, on the side of the house. It’s a corner that has seeded itself over the years so no actual flowers lost.
The way a robotic mower works, loosely interpreted, is that it operates within the confines of a border wire that is placed all around your lawn, creating a loop that is the mower’s domain. Guide wires help the mower find home quicker when a charge is required. The mower operates continuously, more or less. You can set up a schedule so that it mows however long required for your particular lawn.
Once the Charging Station is in place and the mower is charging I will cut my lawn quite short around the perimeter so that the border wire will lay as low to the ground as possible and be overgrown and hidden in a week or two. During that time I will set the AutoMower to cut high.
 Initial plan for Guide Wire(s).
Subject to some revision of course.
4th day of Ownership:
I thought I had the base station sorted out using some astro turf but have since been convinced to seed real grass.
I charged the mower up today and started on the wires. Got about a third of the boundary wire done.
Into 3 weeks of ownership now:
Overall, it’s been a fun 3 weeks. The occasional bump of course but that’s just normal for a DIY project… for me anyways.
I installed the boundary wires somewhat conservatively in version one. That means ample space was left around trees, flower beds and especially at the bottom of the slopes. The guide wires were installed as per the red lines in the above image.
The mower itself added some extra challenges as it wasn’t perfect out of the box. The spring loaded start/stop hatch was not adjusted correctly so stop activated occasionally on its own. Problem was promptly taken care of by Fraser Valley Equipment and has been good since.
I kept the mower going on a 7 day schedule, 8AM-10PM. In part to give it a chance to learn my yard, in part to make sure it operates correctly, like going home to charge as needed, etc.
Once I had an idea of the mowers’ capabilities I tweaked not only boundary wires but actual boundaries. I added some pavers so that I would have a border wide enough so that the lawn would be cut completely without needing the weed whacker to trim the edges. I still have areas that need to be trimmed as the mower does not do edges, just like any other mower.
The passageway was a bit too narrow to accommodate boundary and guide wires.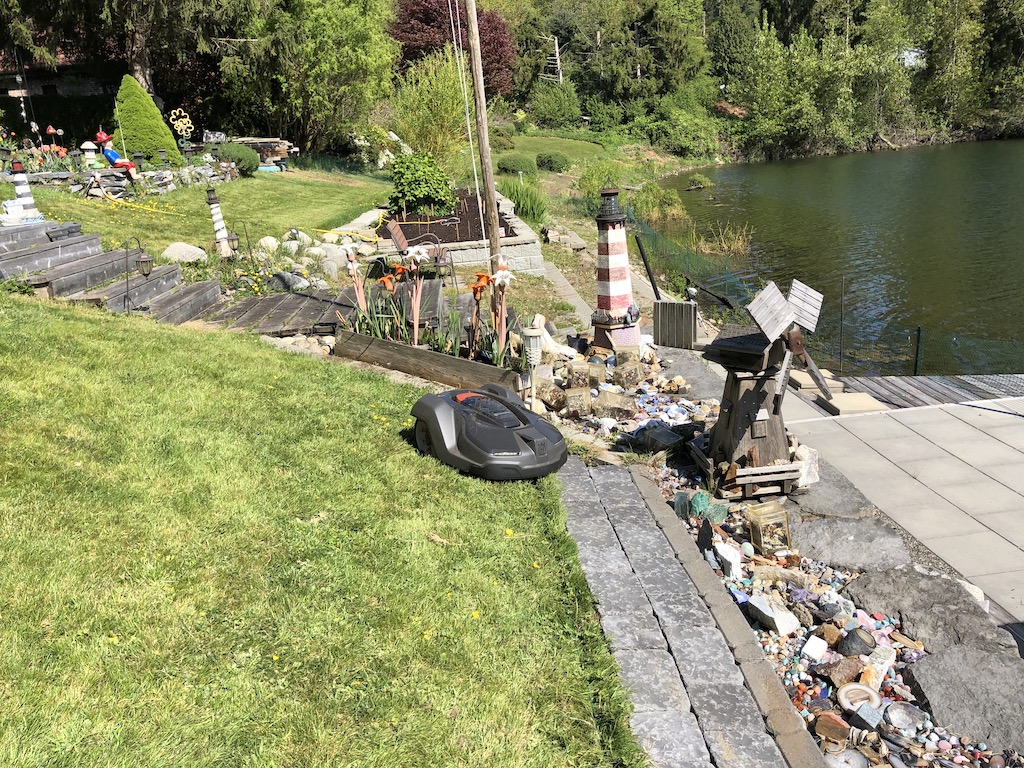
Stole a bit of garden and added a strip of pavers to give it some run-over space.
The mower gave me good reason to fix the edges. No more weed-whacking… at least not here.
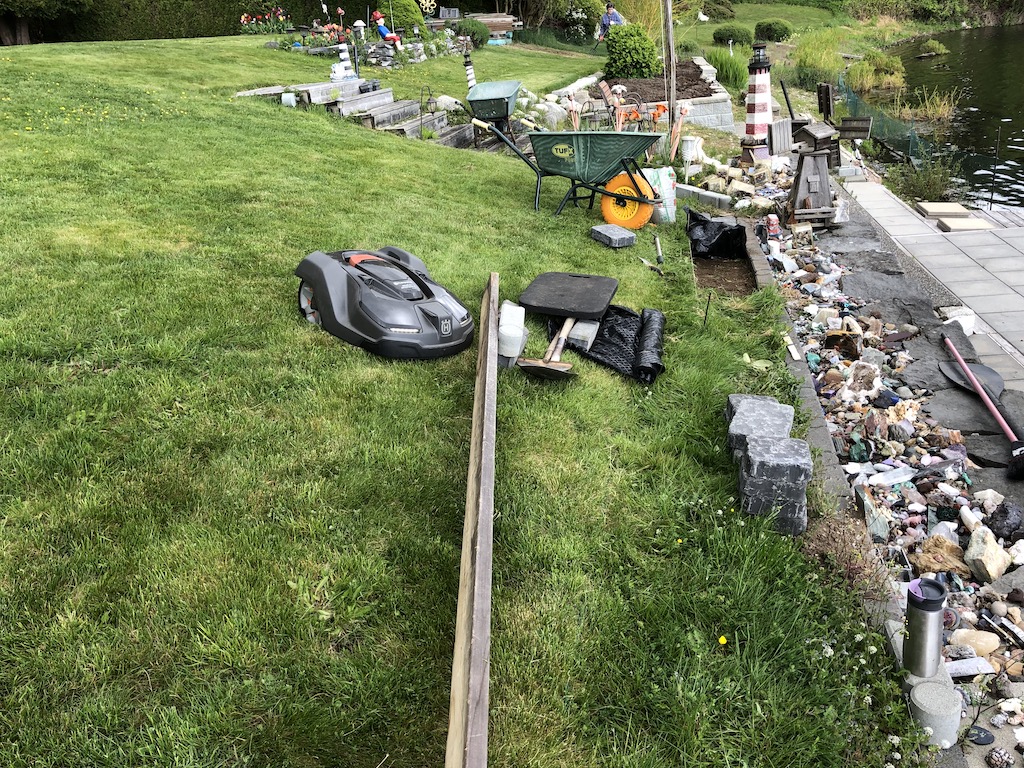
While tweaking areas I used a 2×6 as construction barrier. The mower would bump into it gently, back up, turn and go elsewhere.
Husqvarna did a nice job. GPS mode allows the mower to learn your lawn so that it know where to cut when. GPS is also used to create a geofence. Should the mower be removed from inside the geofence the mower will send a text/email alert, even it the mower is turned off. The mower is also protected by a PIN. The PIN is needed for various functions, including turning the power off. With the PIN the mower will sound an alarm. Husqvarna enabled control with Alexa and also via IFTTT.
I am using the IFTTT services to control the mower with my Home Automation. Nothing fancy, just sending it home based on rain amount. I have a few spots that get soggy with heavier rain so I’m sending the mower home to wait it out.
I’m now on a 4 day a week schedule. We’ll see how that goes.
Starting over, somewhat… decided on the 450XH after all.
…more to come.
Recent Comments